

I may get around to documenting this printer further, however much has been already written on the Internet about the Prusa Mendel i2 Printer so I will focus on how I changed the original design.
Extruder
For the extruder, I have done away with the traditional gearing system and put a hobbed pulley directly onto the shaft of a NEMA17 stepper motor. A spring loaded system presses a 308ZZ bearing against the filament and provides pressure for the hobbed pulley to be able to drive the filament into the hotend. The design is not wholly my own, rather it is a modified version of another’s design. I was constructing something very similar when I came across his design and it was simpler to modify it to meet my needs.
My modifications primarily are centred around allowing the extruder to be mounted onto the stock aluminum plate sold by the J-Head hotend’s original designer and manufacturer, as sold at hotends.com. I have been using this extruder for over a year now and it works reliably with ABS, PLA, Nylon and PETT plastics.
You can download the extruder here: http://www.thingiverse.com/thing:147133
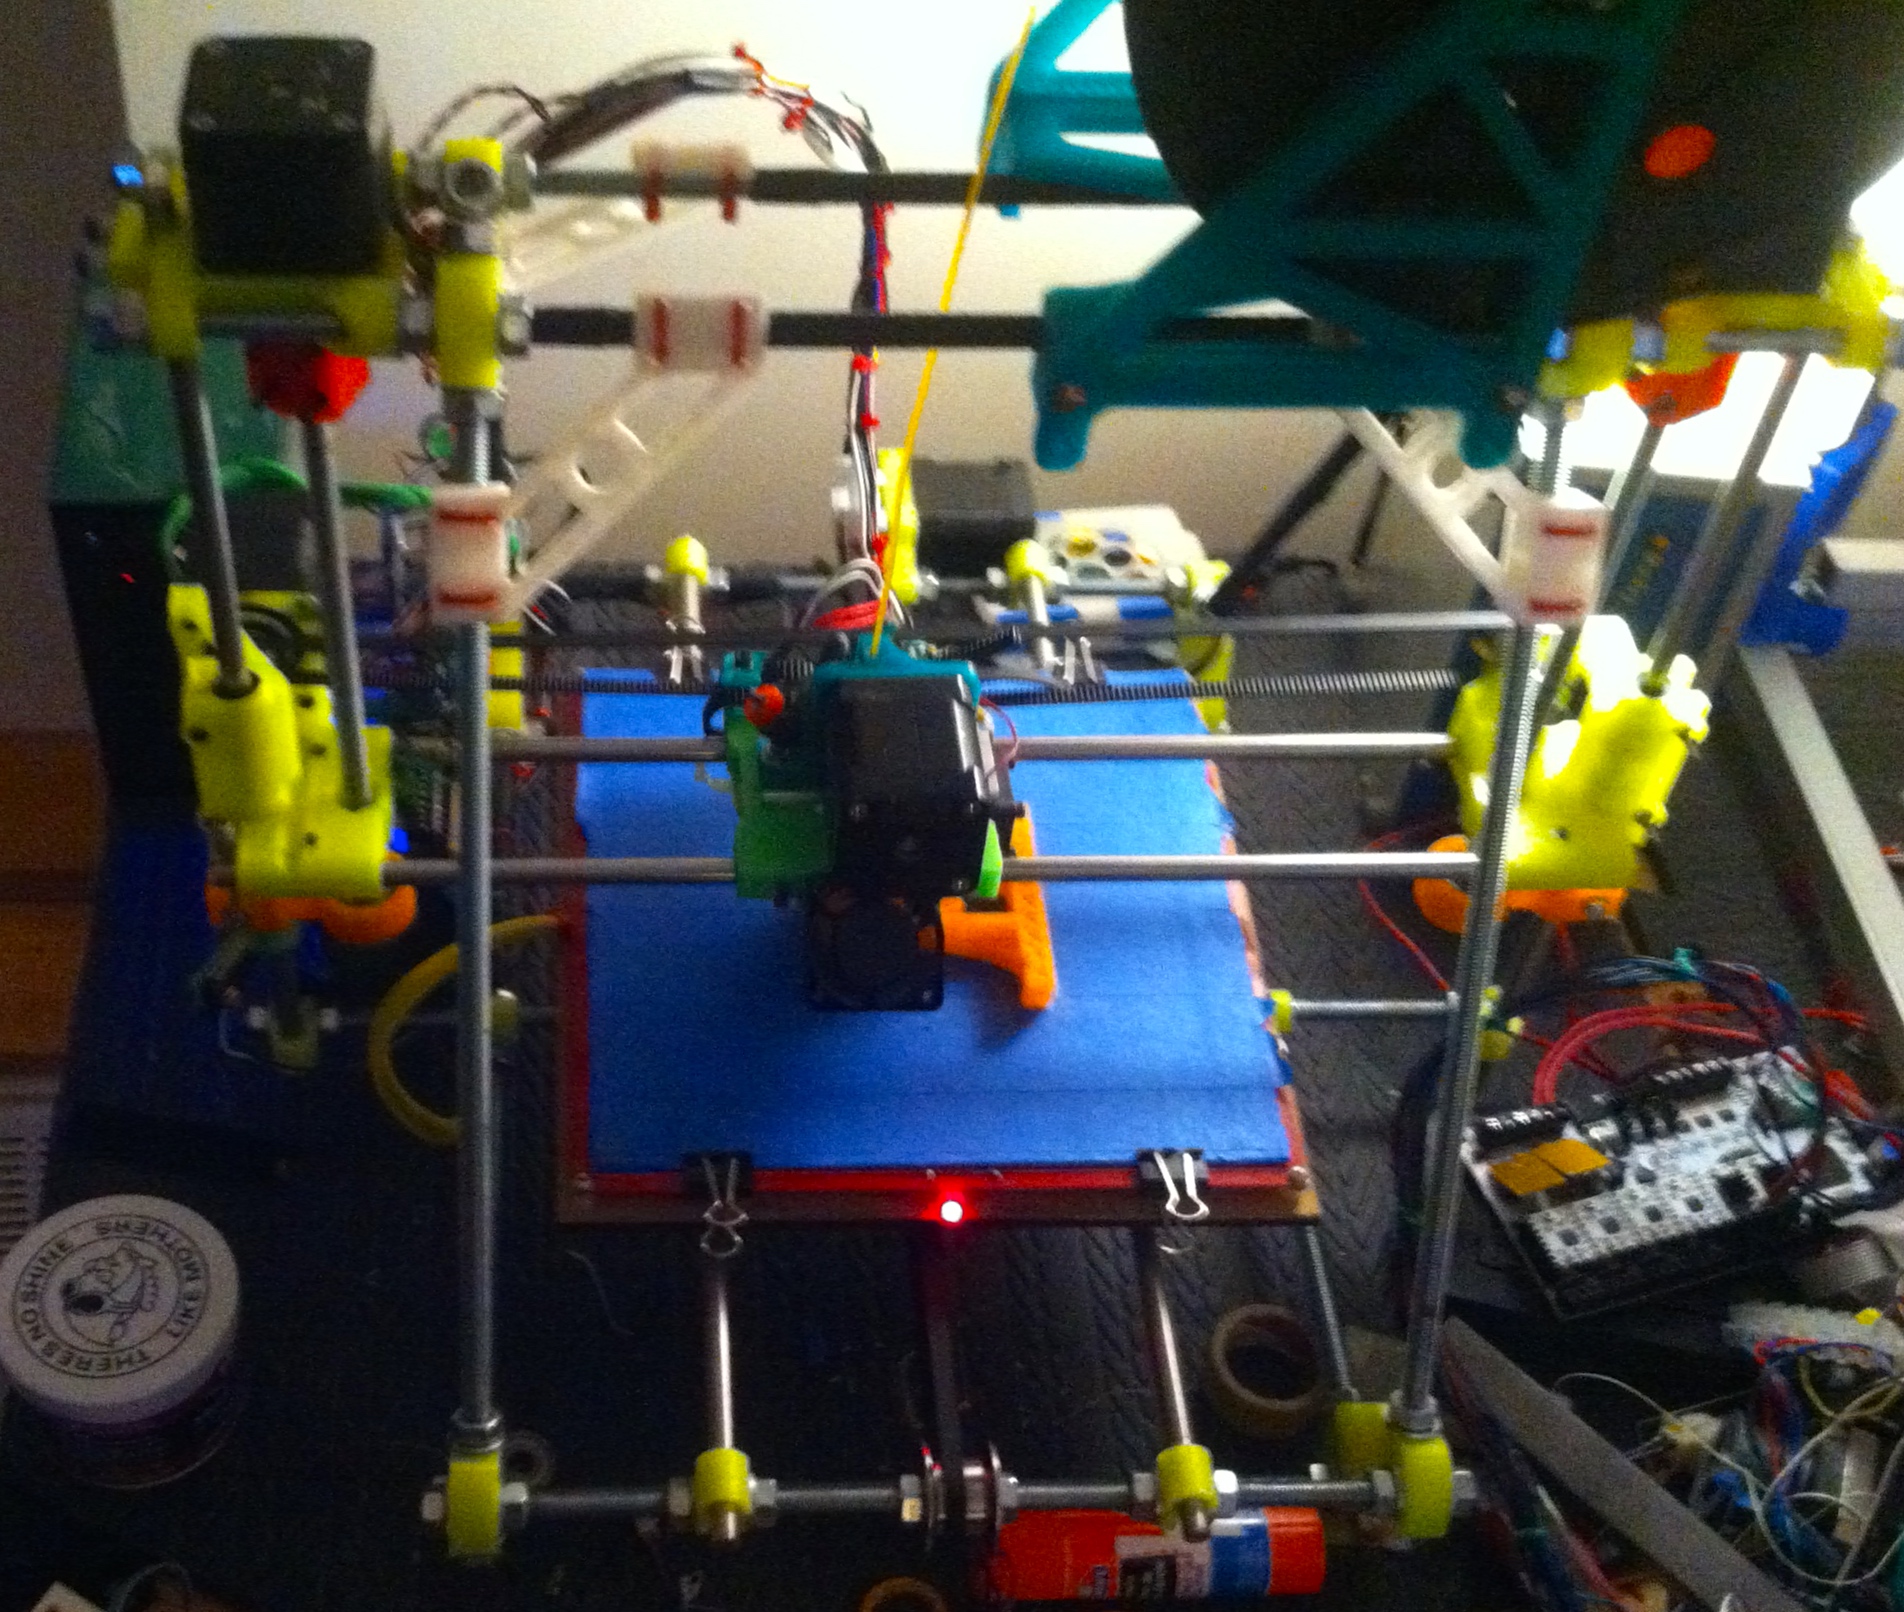
X Carriage
The X Carriage is 100% my own design. Although the current running one has not been published, the basic core design can be found here: http://www.thingiverse.com/thing:220808
This carriage features a ducted 25mm fan for cooling the vented PEEK portion of the J-Head, allowing for safe long-term usage of higher temperature plastics such as PETT, and Nylon which need to be heated to temperatures close to the softening point of PEEK. It additionally improves the performance of the J-head when utilizing less exotic plastics such as ABS and PLA by reducing the melt zone and effectively preventing heat creep. I have been using the linked carriage as well as a slightly lighter test model for nearly a year now with no issues.
It includes mounts for a pair of 40mm fans aimed downwards towards the print – these are controlled by software and are used for plastics such as PLA which benefit from rapid cooling after being layered.
Future modifications will be focused on using small squirrel-cage blower fans instead of 40mm fans to improve the airflow of the PLA cooling system. Blower fans push a much higher air pressure and be ducted in a more aimed fashion at the print, simultaneously cooling the layer faster and reducing the cooling effect on the heated bed platform.
Electronics
I replaced the stock Arduino/RAMPS combo with a RUMBA board for future expansion capabilities and experiments with multiple extruders such as my earlier dual extrusion X carriage design: http://www.thingiverse.com/thing:156389
Y Axis
I am using a custom motor mount and bed mount system. This is documented in my older re-build post.
Drive Belts
In all cases I have replaced the belts and printed pulleys with machined aluminum pulleys and GT2 timing belts. This has greatly improved the print accuracy of the machine. GT2 has gone down in price over the past few years so the older T5 belts no longer make any sense. Most online sellers of the belts will also throw in machined pulleys for free.
